Windows 10 is a seasoned veteran, and 11 is the competent yuppie of the new age of computing. Between them, these two operating systems have more than 1.4 active users. However, no matter how popular and user-friendly its OS is, Microsoft continues improving its IP. The latest improvement comes not in the form of an update, but rather, a new utility. Microsoft PC Manager is the last word in Microsoft PC management.
As wordy as that may sound, during testing, the utility has proved itself a total asset to my computing management suite. And, it can do the same for you. In the following article, I’m going to teach you how to install and use this noteworthy feature on your Windows 10 and Windows 11 devices.
Steps to using Microsoft PC Manager efficiently
Downloading Microsoft PC Manager
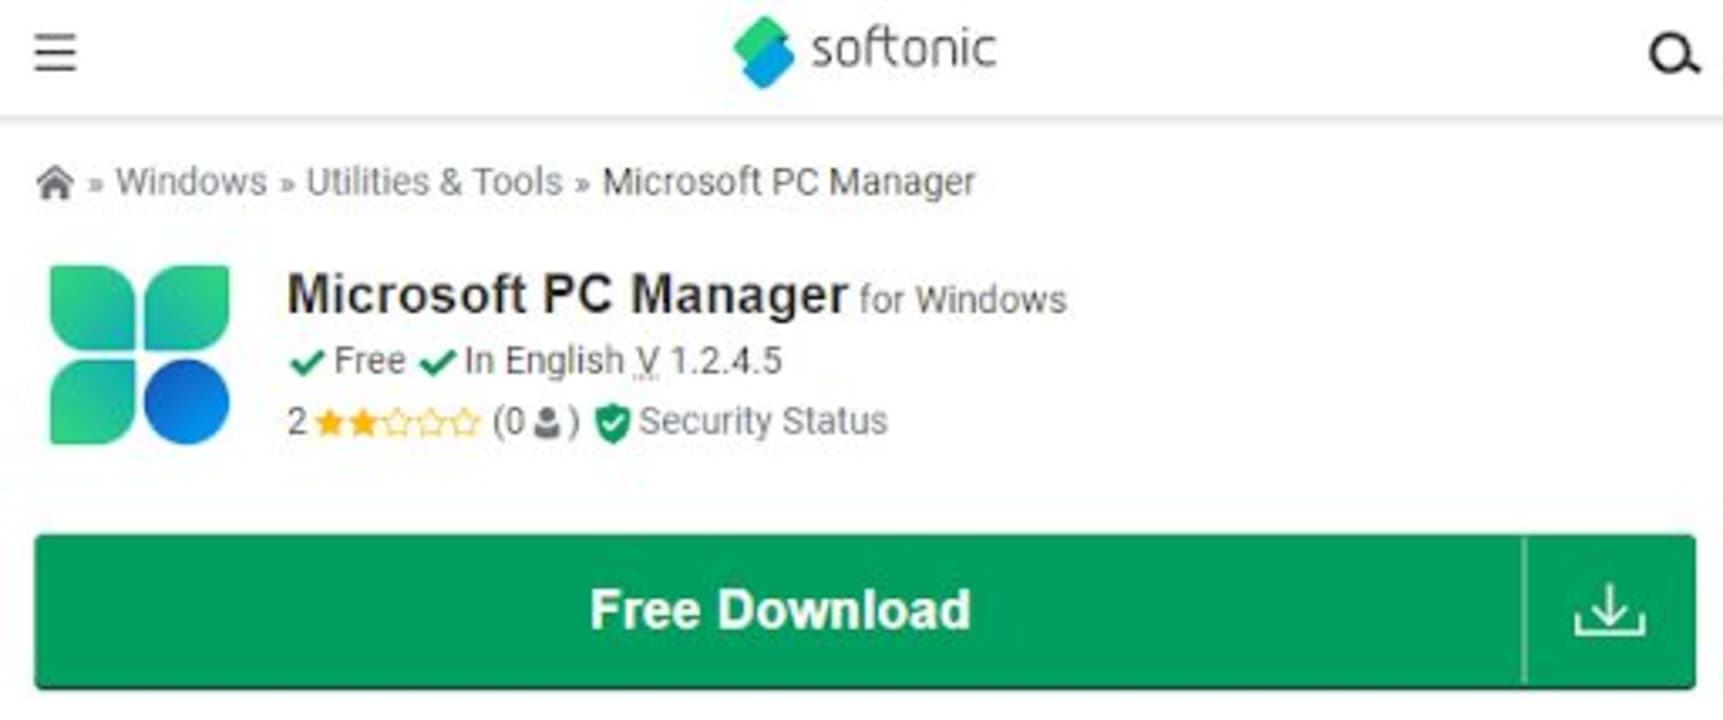
The first step in testing new software is always to download it. All you need to do is head to our Microsoft PC Manager download page, and click the big green button. Green means go, so head on over and go click it.
Installation
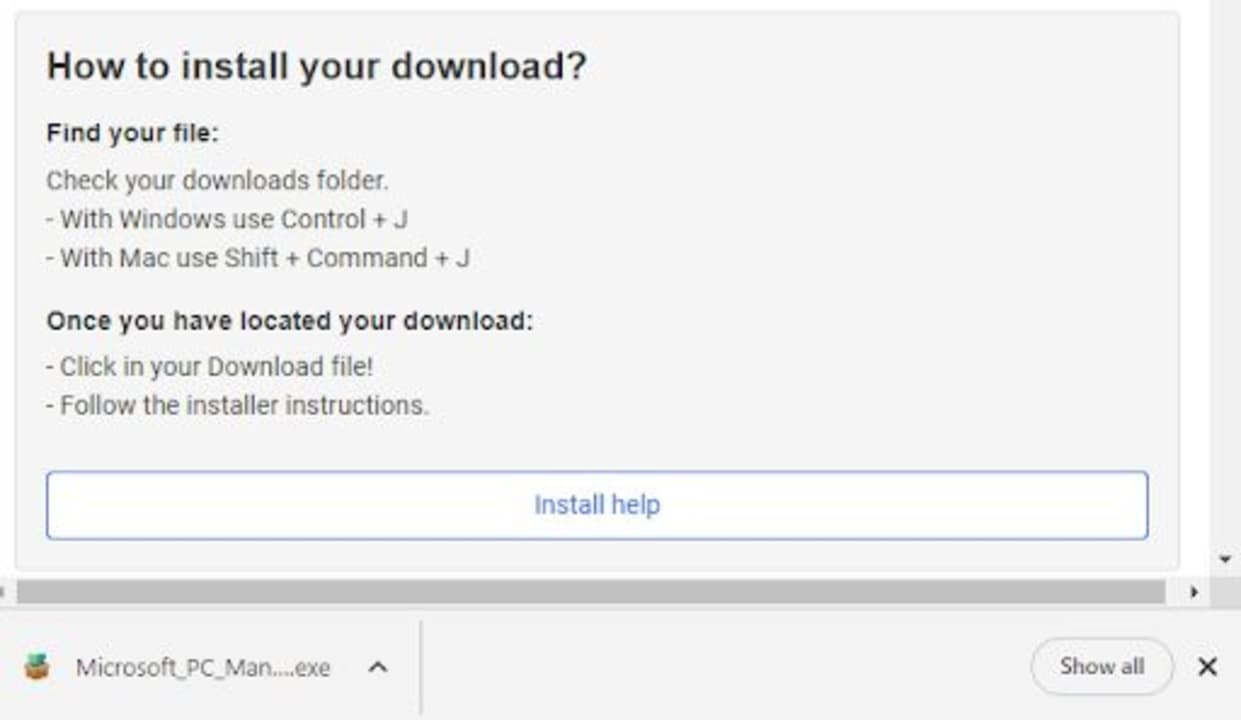
If you’ve ever downloaded anything on your PC before, you’ll know how this bit works. You simply need to wait for the download to finish, then click on the executable file either in the ribbon at the bottom of your browser interface, the browser downloads page, or your downloads folder within your file explorer. Next, simply follow the installation wizard and you’ll be good to go. As far as utilities go, this one’s a light weight; shouldn’t take all that long to install 5.7 MB of pure Grade-A Microsoft IP.
We’re deviating from the classic step format from here on out; the two steps above are literally all it takes to be managing your PC like a legend. Below, we’ll give you an overview of the features that this utility has. Strap in, we’ve got quite a features to cover.
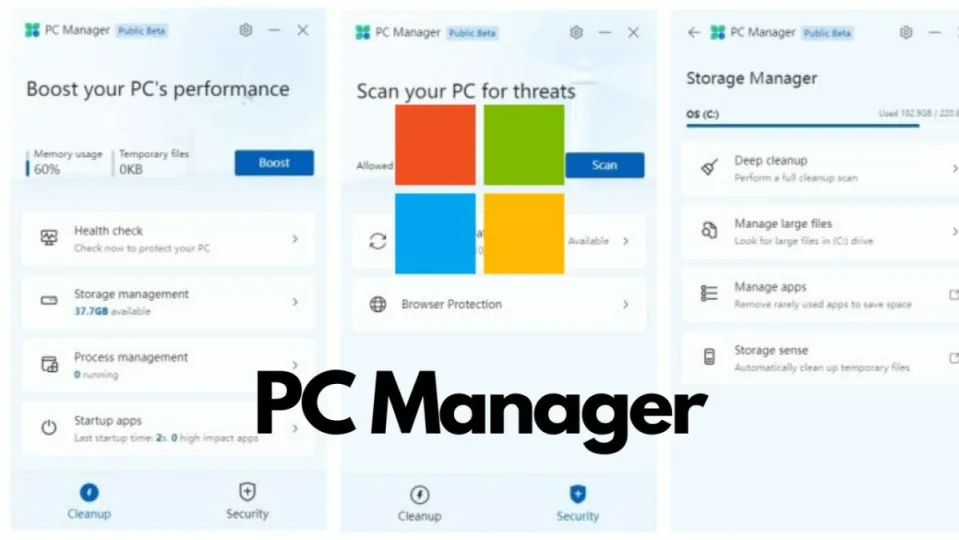
Performance boost
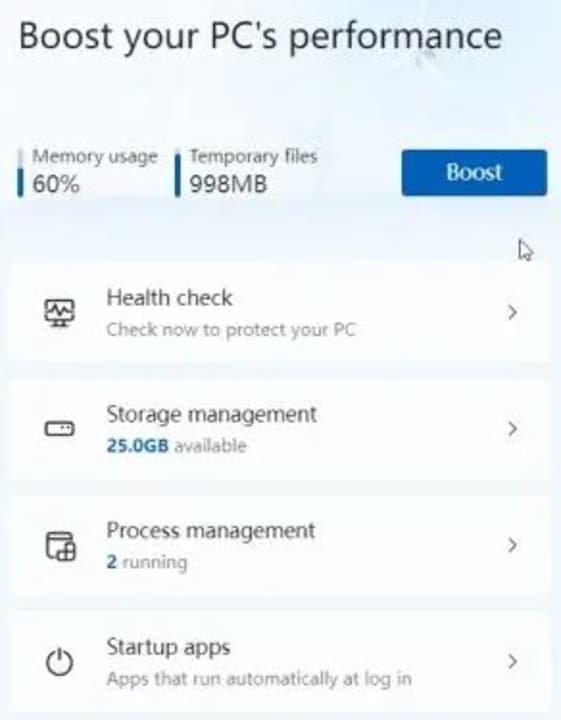
Microsoft PC Manager is basically like the cleaning app you never knew your PC needed until now. Because it’s essentially a cleaner app, you can bet your bottom dollar that it comes pre-packaged with a performance booster. All you need to do to access the PC booster is open PC Manager from either your system tray or desktop, and then hit Boost. That’s all there is to it.
You’ll also get a nifty interface that displays your PC’s memory usage and the density of temporary files that your system is still hanging on to. Moreover, you’ll see a few other options for cleaning your PC even further through either Process Management, Storage Management, or selecting which apps run automatically upon startup.
Boosting your PC’s performance with Microsoft PC Manager
Now that you know how to download and install Microsoft PC Manager as well as access the PC booster, here are some options you have to increase performance on your desktop.
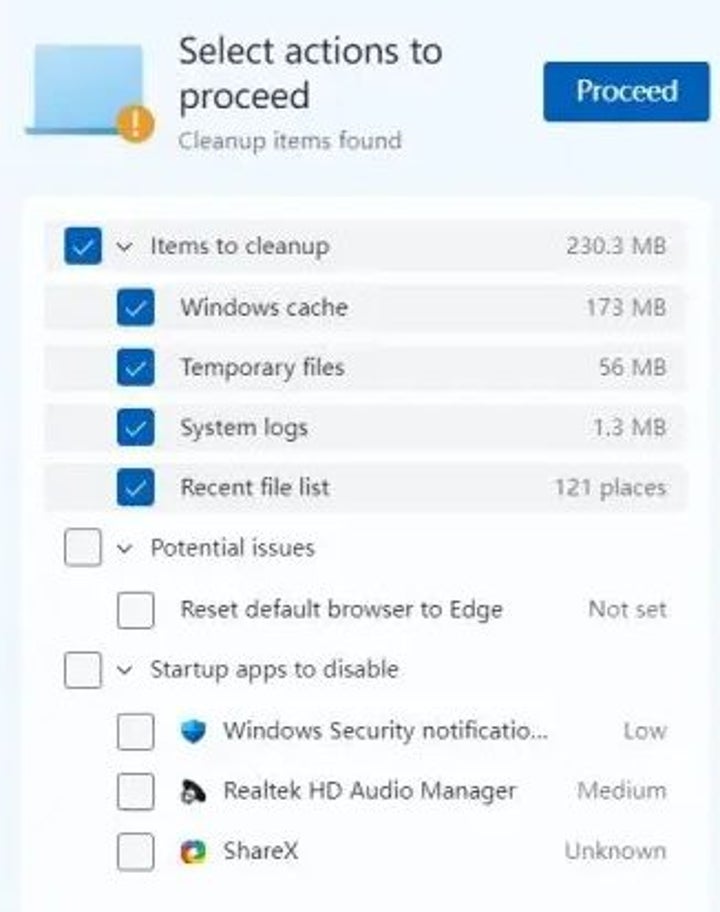
Health Check
This is another one of the PC management options that the utility presents you with. This is the feature to use if you feel your PC’s health may be at risk. With this feature, you’ll be able to quickly identify any and all sorts of junk files that may be slowing your PC down.
True to the Microsoft brand, this feature recommends that, for your own safety, you set Microsoft Edge as your default browser. However, as long as you have trust in the browser you use, you should be fine. I, for instance, prefer the heightened security and no-nonsense approach to ads that Brave Browser offers. To each their own.
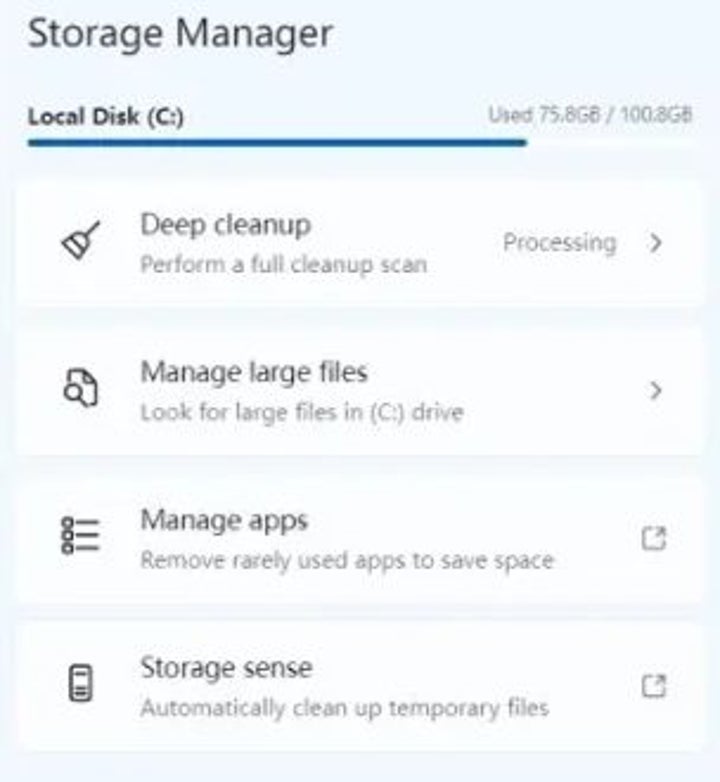
Manage Storage
Storage management is one of the most useful features of this utility. If you’re like me and your PC is permanently used for testing apps, installing different bits of software, and editing countless documents, you might have a few residual and disposable files lying around. Storage management lets you take care of these blighters by basically performing a full disk cleanup. The only major difference between this and the conventional Windows 10/11 disk cleanup procedure is that this has been optimized to run smoothly from an app with an easier interface.
Clean up your RAM
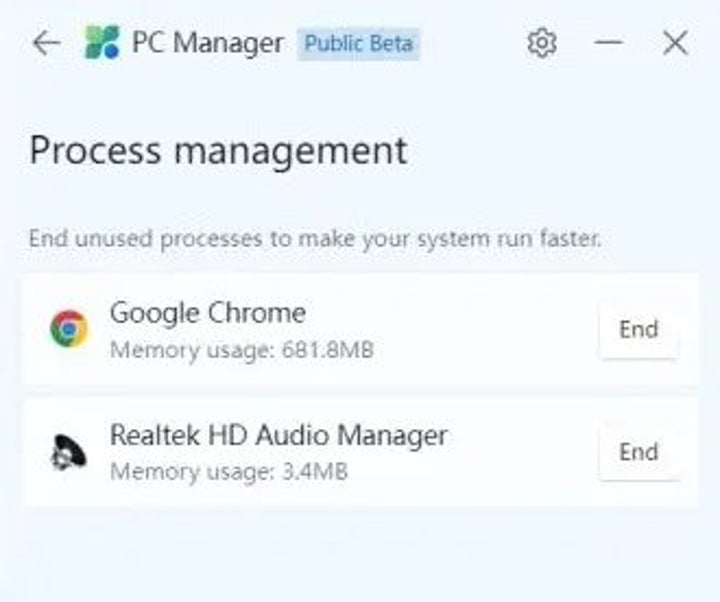
RAM (Random Access Memory) is of utmost importance where processors, and, by extension, PCs are concerned. If you don’t have enough RAM available, you’re not going to be able to do all the things that you expect your PC to be able to process. On average, Windows 11 has around 150 processes running at any given time.
That’s a lot of processes, even without any active apps. Just imagine what happens when you fire up that 4K video on YouTube, the 17 additional browser tabs, various apps from your chosen productivity suite, and a game to keep you from focusing too hard on work.
This tool helps you give your PC a break by ending all the processes that don’t need to be processing while you’re busy getting things done. Simply head to the process in question and click End right next to its name and you’ll be saving RAM left, right, and center.
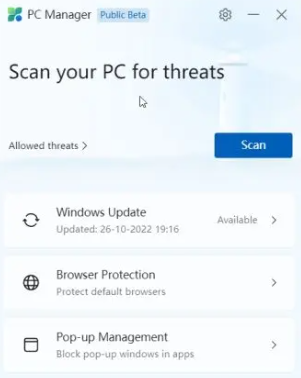
Microsoft PC Manager updates and security
You’re likely familiar with the Update & Security section within your Windows 10 and 11 Settings app. Well, this is that, just in more convenient packaging. With this feature of the PC Manager app, you can do everything from scanning your PC for malware and threats, to installing the latest feature, driver, and quality-of-life updates that Microsoft releases. Simply select whichever update you’d like to install from the list of available updates, and you’ll be good to go.
A feature for every PC management occasion
There are so many other features with which this utility boasts. Head on over to the download page and check it out. It’ll definitely be worth your while to get on top of whatever issues your PC may be having. The best part about all of this is that PC Manager is backed by Microsoft.
Who better to help you get the most out of your PC’s operating system than the people who designed and created it in the first place? Be sure to also check our guide on how to remain safe online.